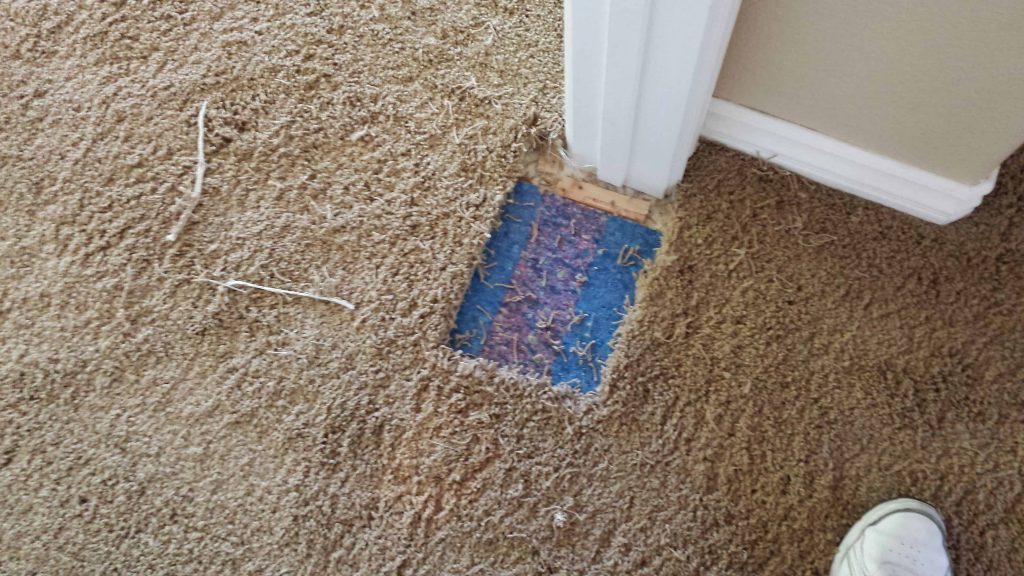
How To Patch A Damaged Carpet
Carpet Repair Average Costs. According to HomeAdvisor.com, carpet repairs cost between $100 and $400, with an average price of around $200 to $300. Carpet re-stretching costs $100 to $250 per room depending on the size of the room. Repairing damaged carpet might cost $100 to $250 per area. Or you can learn how to patch a damaged carpet from reading this article.
- You will need a remnant of your carpet. Begin by cutting a neat square around the hole or worn spot in your carpet with a utility knife and a straightedge. Cut completely and evenly through the rug’s backing, lifting as you go, avoiding any padding as well as the floor surface below.
- Using the remnant, make a patch identical in shape, size, design and pile direction to the carpet section your removed. Test to see that the patch fits properly, and trim to make any necessary adjustments.
- Apply carpet adhesive in a thin layer to the underside of the patch and along each edge and the surrounding carpet.
- Carefully set patch into hole, then gently brush the pile so that the repaired section blends in seamlessly. Allow several hours for the adhesive to set before vacuuming over the repaired area.
Another way to repair carpets
When done correctly, this repair eradicates the damaged area with minimal or no evidence. Remnants from the installation of the carpet make the job a little easier. If no remnants can be found cut a small portion of carpet from the back of a closet or other out-of-the-way space to provide a repair piece.
Step 1
Position an empty can (or other container of comparable size) on the nap side of the repair piece and press down firmly, allowing the rim to make a clear impression. Then cut around the outline using a sharp utility knife.
Use tape marked with an arrow to indicate the direction of the carpet’s nap on the repair piece. Then use another length of marked tape to identify the direction of the nap near the damaged area of the carpet.
Using the same can or container, press it down firmly over the damage.
Carefully cut along the outline with a utility knife (image 1). The diameter of a standard can is a good guideline for the size of a replacement piece. The goal is to keep the cut-out area (image 2) as small as possible but still allow carpet tape to be inserted into the space and laid flat beneath the carpet backing.
Step 2
To ensure the carpet tape doesn’t work its way back through the opening, cut a length 2 to 3 inches wider than the diameter of the cut-out area. Carpet tape is available in double-sided and single-sided versions; the single-sided type generally works best for this type of repair.
Peel the backing away from the adhesive side of the tape and carefully insert the piece into the cut-out area, smoothing it flat from below so that it sticks firmly to the carpet backing around the perimeter of the opening.
Be patient and work carefully: handling the stickiness of the tape can be a challenge. For a cut-out this size, it generally works best to cover about half the space with one piece of tape and you cover the other half with a second piece of tape.
.png)
